Setting up for Android NDK development

Android allows you to compile and execute native code written in C/C++ for increased computational performance. Getting the NDK up and running on the other hand can be a pain. This tutorial was put together using Android Studio 1.4.1 with the most recent API version 23. I'll also be using the older deprecated NDK plugin rather than the new experimental version.
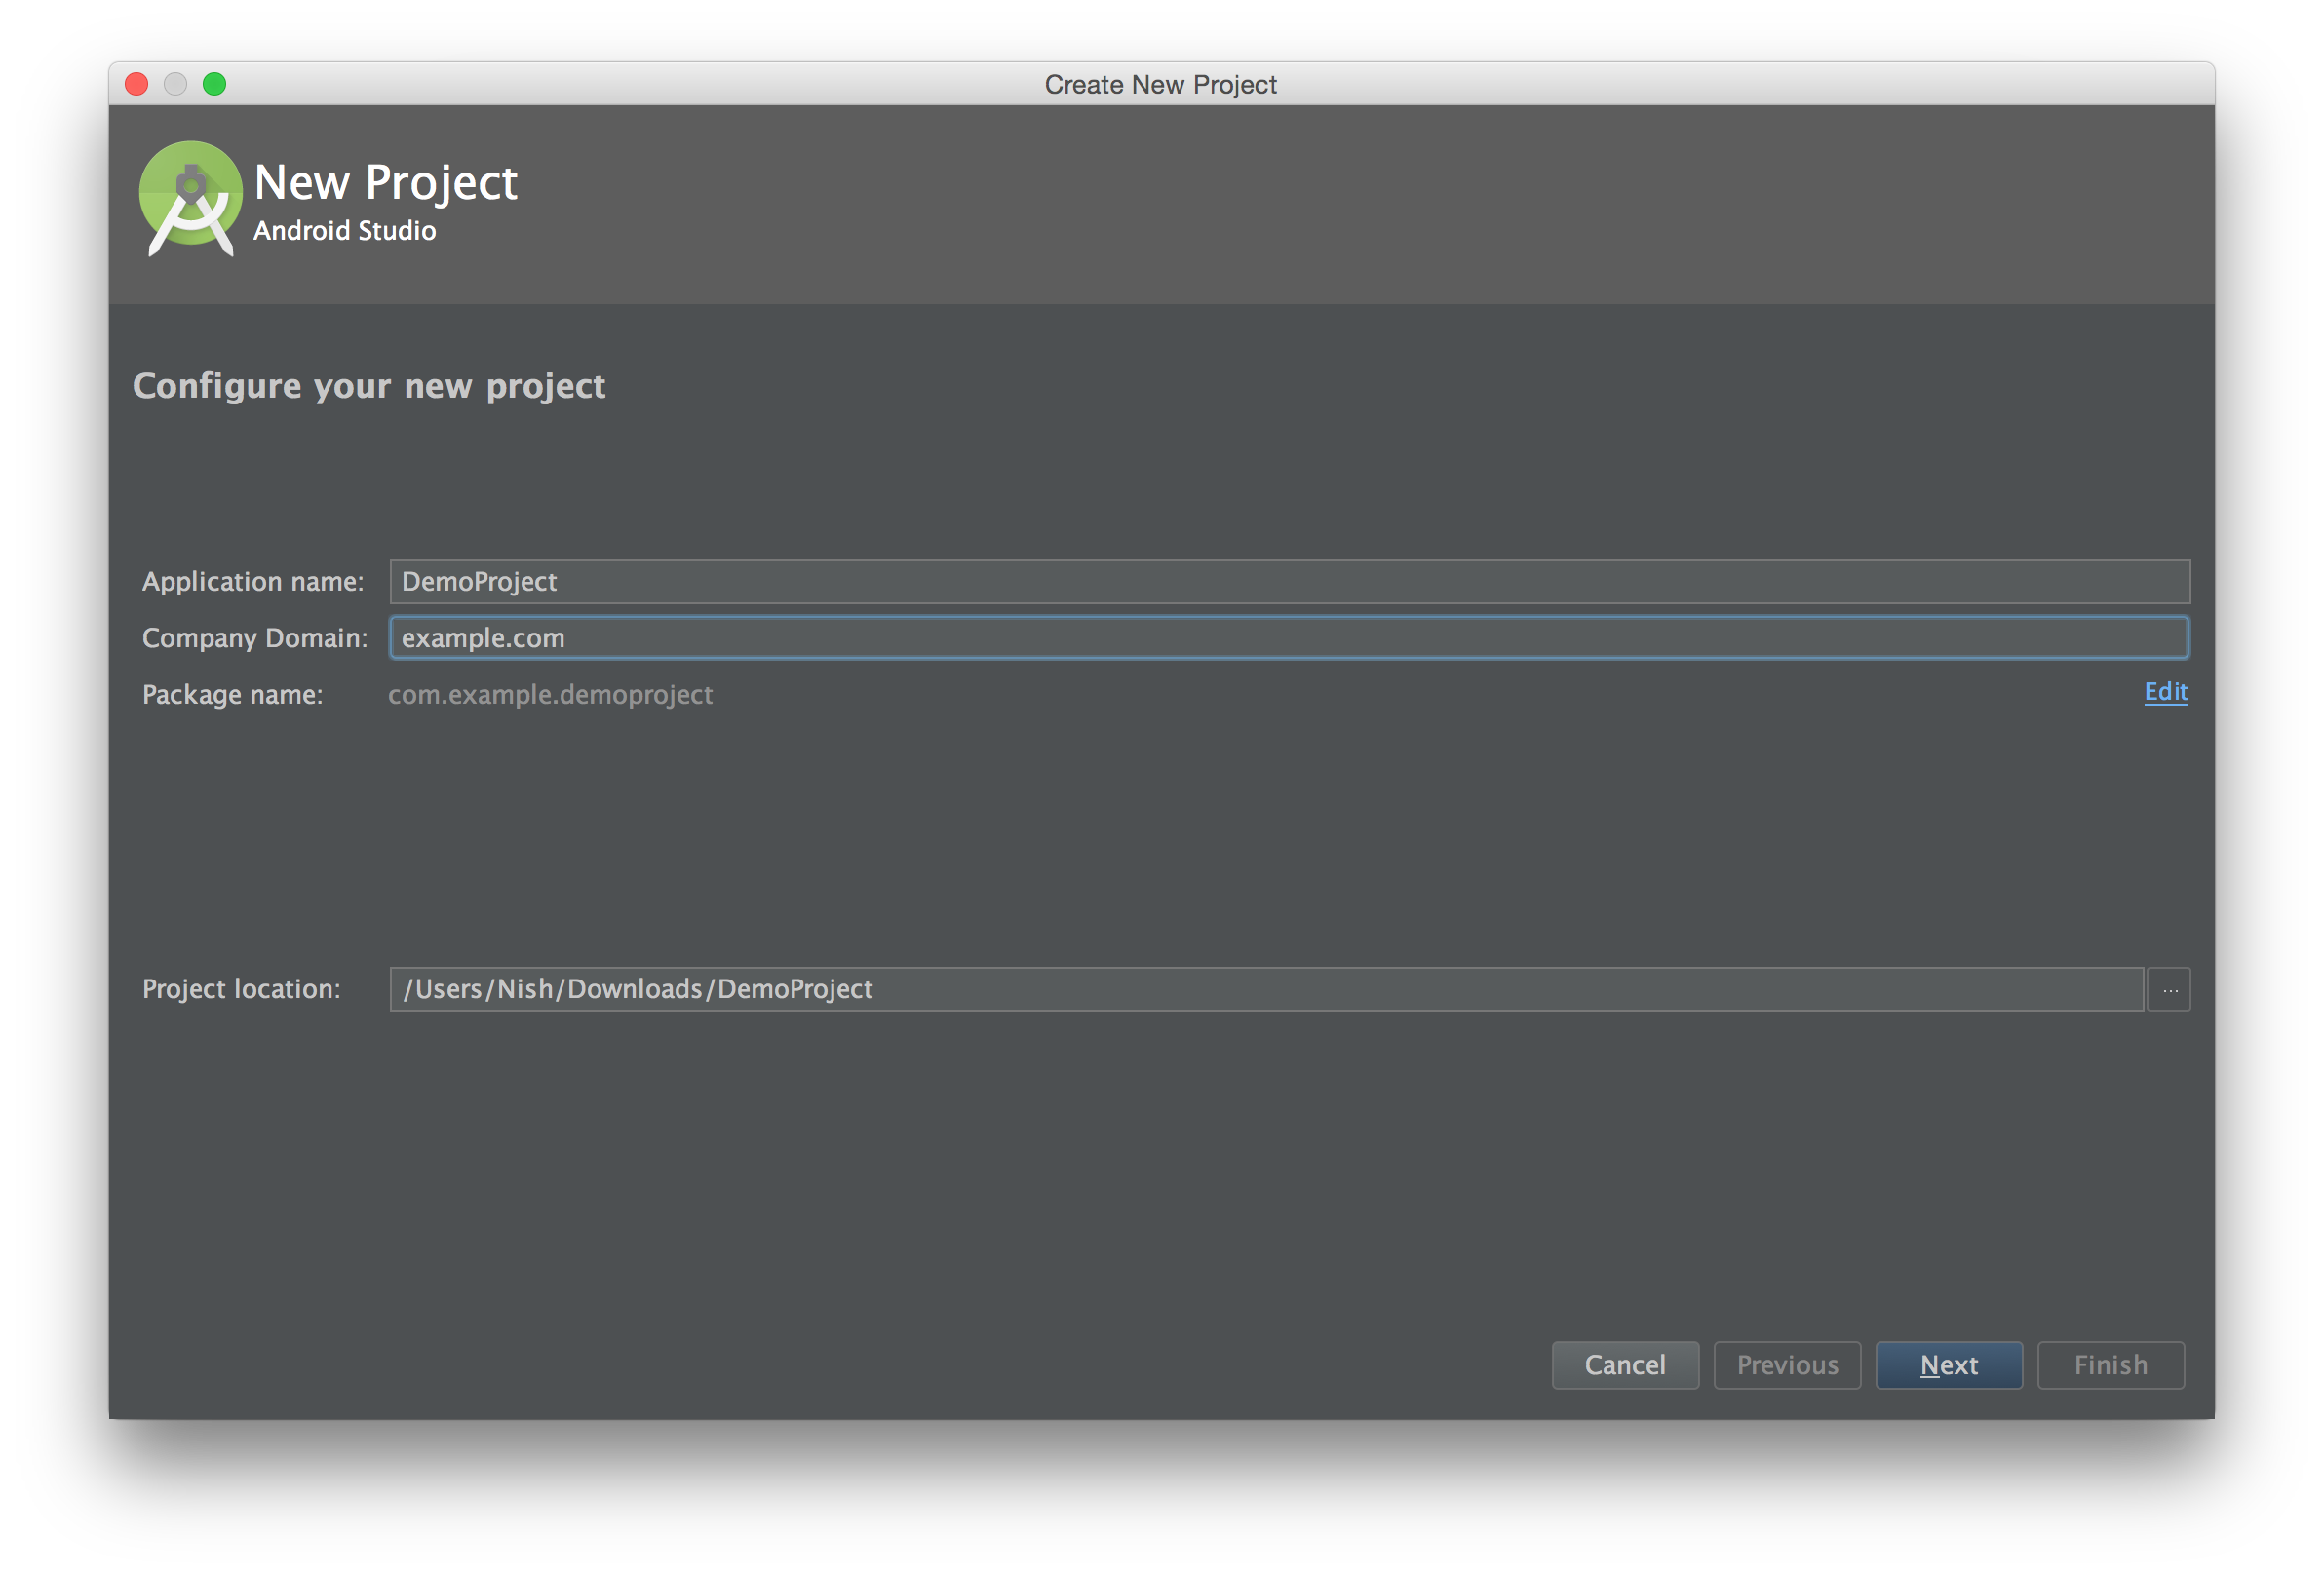
Create an empty project
This is done by selecting Start a new Android Studio project in the Quick Start menu when you first launch android studio. Select an application name and company name (this will be used as the package name[1], so you company domain name should be used).
Next you have to select a minimum SDK or Android version which your application will support. As well as the Different form factors- Android Wear, TV and Auto.
Now just select the defaults for everything else, by hitting Next until the project is created.
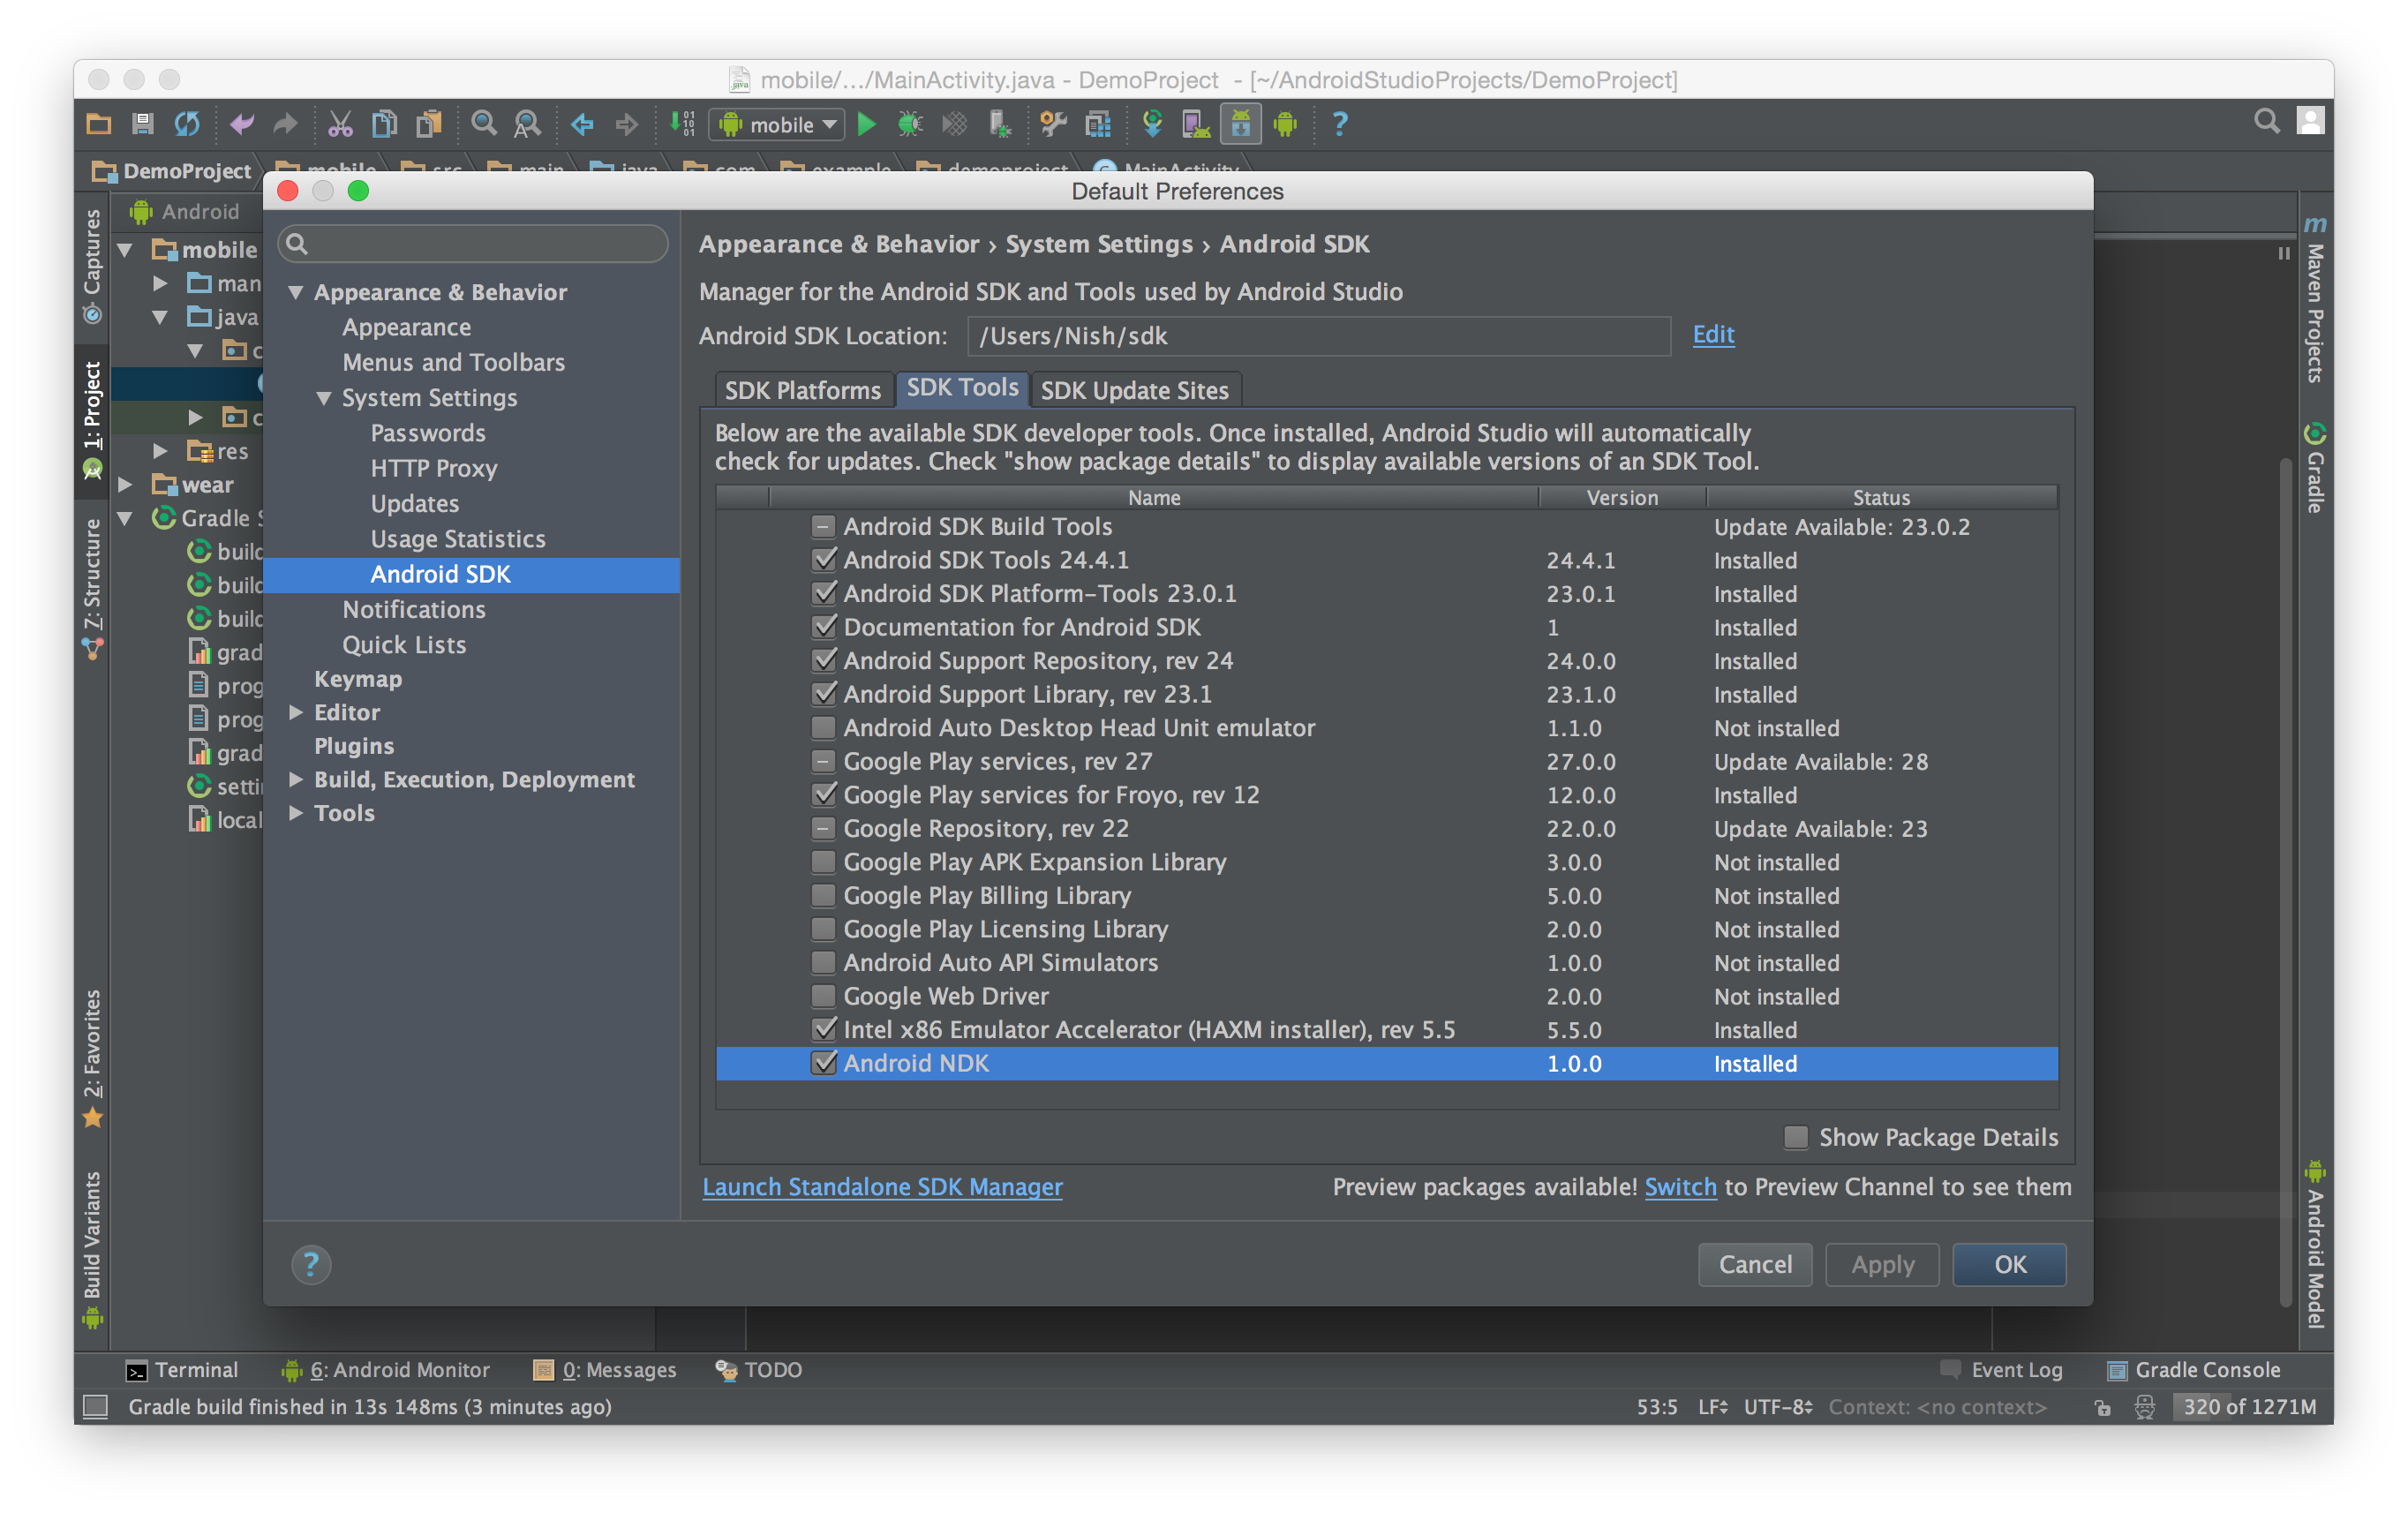
Get the NDK
Now that you have a new project, you need to download the NDK using the SDK manager built into Android studio[1:1]. You can access this through
File > Settings > Appearance & Behavior > System Settings > Android SDK`
or from the tools menu
Tools > Android > SDK Manager
In the SDK tools tab, scroll down the bottom of the page and select Android NDK and then click apply to install.
Generate C/C++ header files
In order to invoke native C/C++ code in your application, you have to use the Java Native Interface (JNI)[1:2]. To begin, add a native method to your class file. This is an abstract method with the native keyword.
public static native String getStringFromNative();
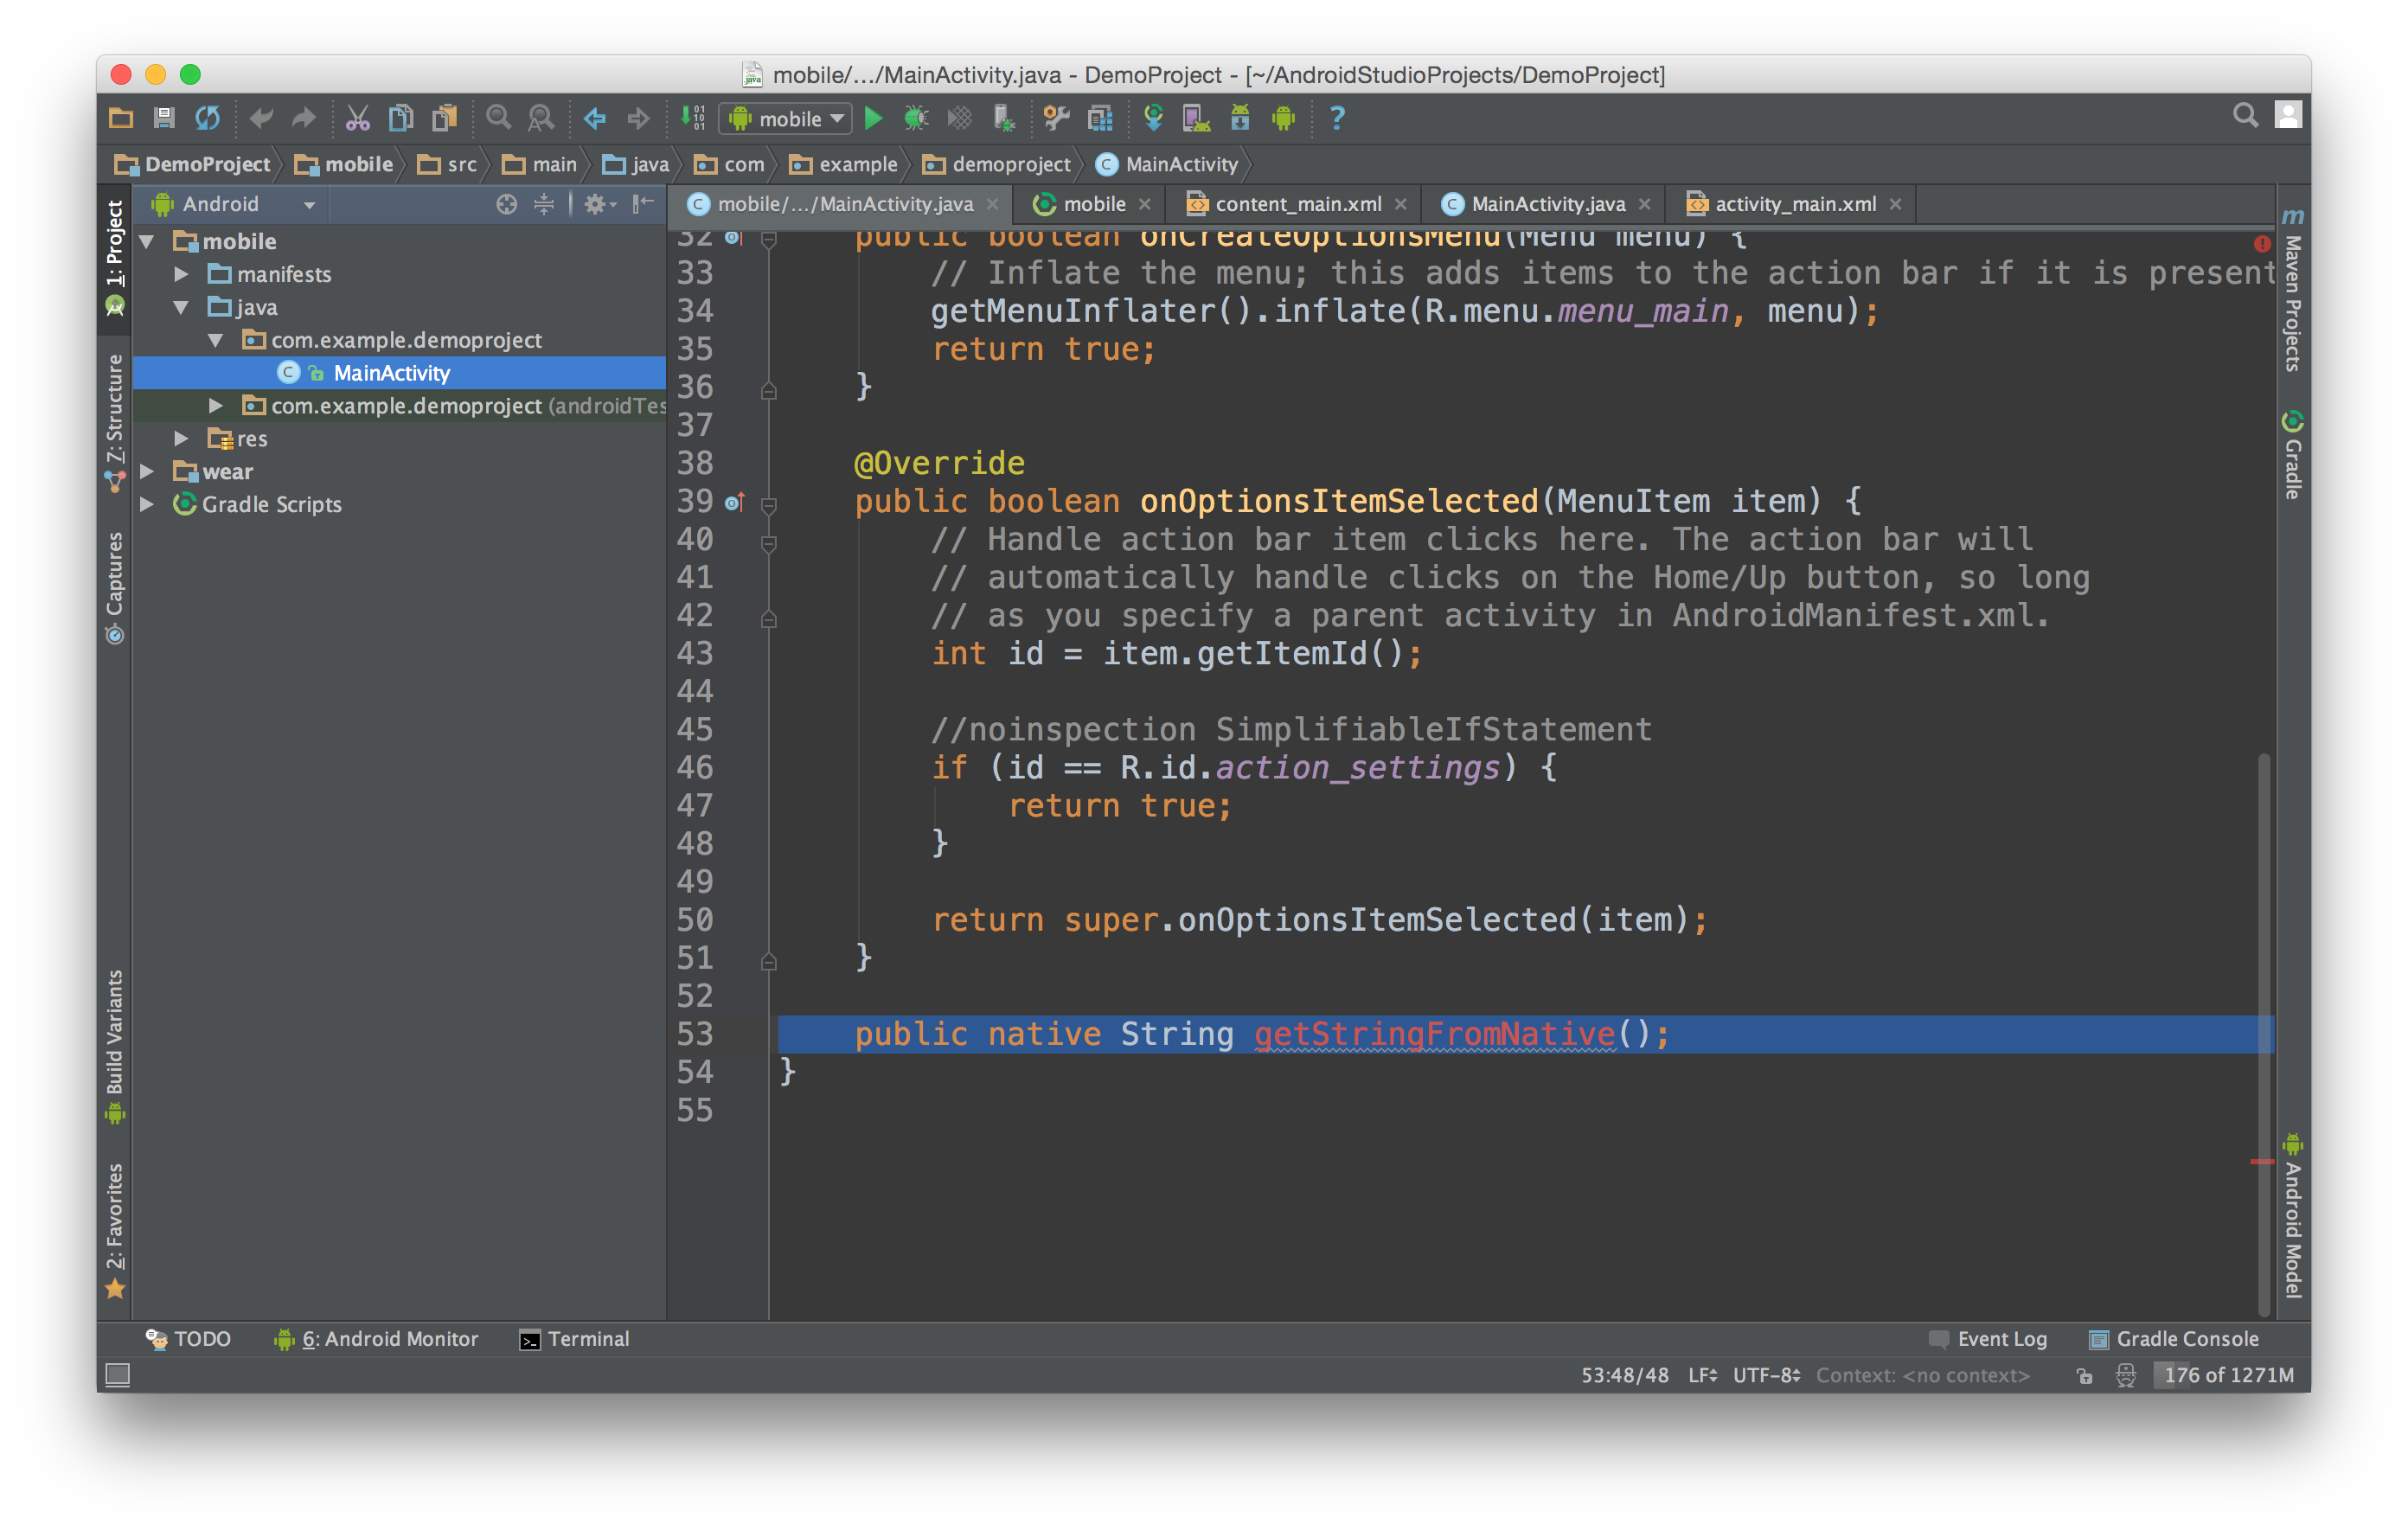
Save and build your project by selecting
Build > Make Project
This will compile and generate some necessary class files.
Android studio will mark this as an error because we don't have the corresponding JNI method defined yet. We fix this by first generating the appropriate C/C++ header files using the C Header and Stub File Generator - javah[1:3].
Using the terminal window at the bottom of the screen, move into the src/main/ directory using the cd command[1:4]
cd src/main
Next, invoke javah using the following command (Replace [path to sdk] and [package name] to match your own path). (Windows users replace forward slashes(/) with back slashes (\) and colon separators (:) with semi colons(;)).
javah -d jni -classpath [path to sdk]/platforms/android-23/android.jar:[path to sdk]/extras/android/support/v7/appcompat/libs/android-support-v7-appcompat.jar:[path to sdk]/extras/android/support/v7/appcompat/libs/android-support-v4.jar:../../build/intermediates/classes/debug [package name].MainActivity
Running this successfully with generate a folder called jni with a file [package name]_MainActivity.h. This is the generated header file.
/* DO NOT EDIT THIS FILE - it is machine generated */
#include <jni.h>
/* Header for class com_example_demoproject_MainActivity */

#ifndef _Included_com_example_demoproject_MainActivity
#define _Included_com_example_demoproject_MainActivity
#ifdef __cplusplus
extern "C" {
#endif
#undef com_example_demoproject_MainActivity_BIND_ABOVE_CLIENT
#define com_example_demoproject_MainActivity_BIND_ABOVE_CLIENT 8L
#undef com_example_demoproject_MainActivity_BIND_ADJUST_WITH_ACTIVITY
#define com_example_demoproject_MainActivity_BIND_ADJUST_WITH_ACTIVITY 128L
#undef com_example_demoproject_MainActivity_BIND_ALLOW_OOM_MANAGEMENT
#define com_example_demoproject_MainActivity_BIND_ALLOW_OOM_MANAGEMENT 16L

/* ... lots of other generated statements here ... */

#define com_example_demoproject_MainActivity_MSG_REALLY_STOPPED 1L
#undef com_example_demoproject_MainActivity_MSG_RESUME_PENDING
#define com_example_demoproject_MainActivity_MSG_RESUME_PENDING 2L
/*
 * Class:     com_example_demoproject_MainActivity
 * Method:    getStringFromNative
 * Signature: ()Ljava/lang/String;
 */
JNIEXPORT jstring JNICALL Java_com_example_demoproject_MainActivity_getStringFromNative
  (JNIEnv *, jobject);

#ifdef __cplusplus
}
#endif
#endif
Ignoring the #define statements, this file contains a function prototype that matches the native method that we defined in our java code. We need to create a *.c file where we will write the function body for the method.
I created main.c in my jni folder with the following contents which simply returns a java string when the method is called.
#include "com_example_demoproject_MainActivity.h"

JNIEXPORT jstring JNICALL Java_com_example_demoproject_MainActivity_getStringFromNative
        (JNIEnv* env, jobject object){
   return (*env) -> NewStringUTF(env, "With great power, comes great responsibility.");
}
Configure Properties
At this point, trying to build the project will fail, because there is still a bit of configuration that needs to be done. First we need to configure Gradle to use the old currently deprecated NDK plugin.
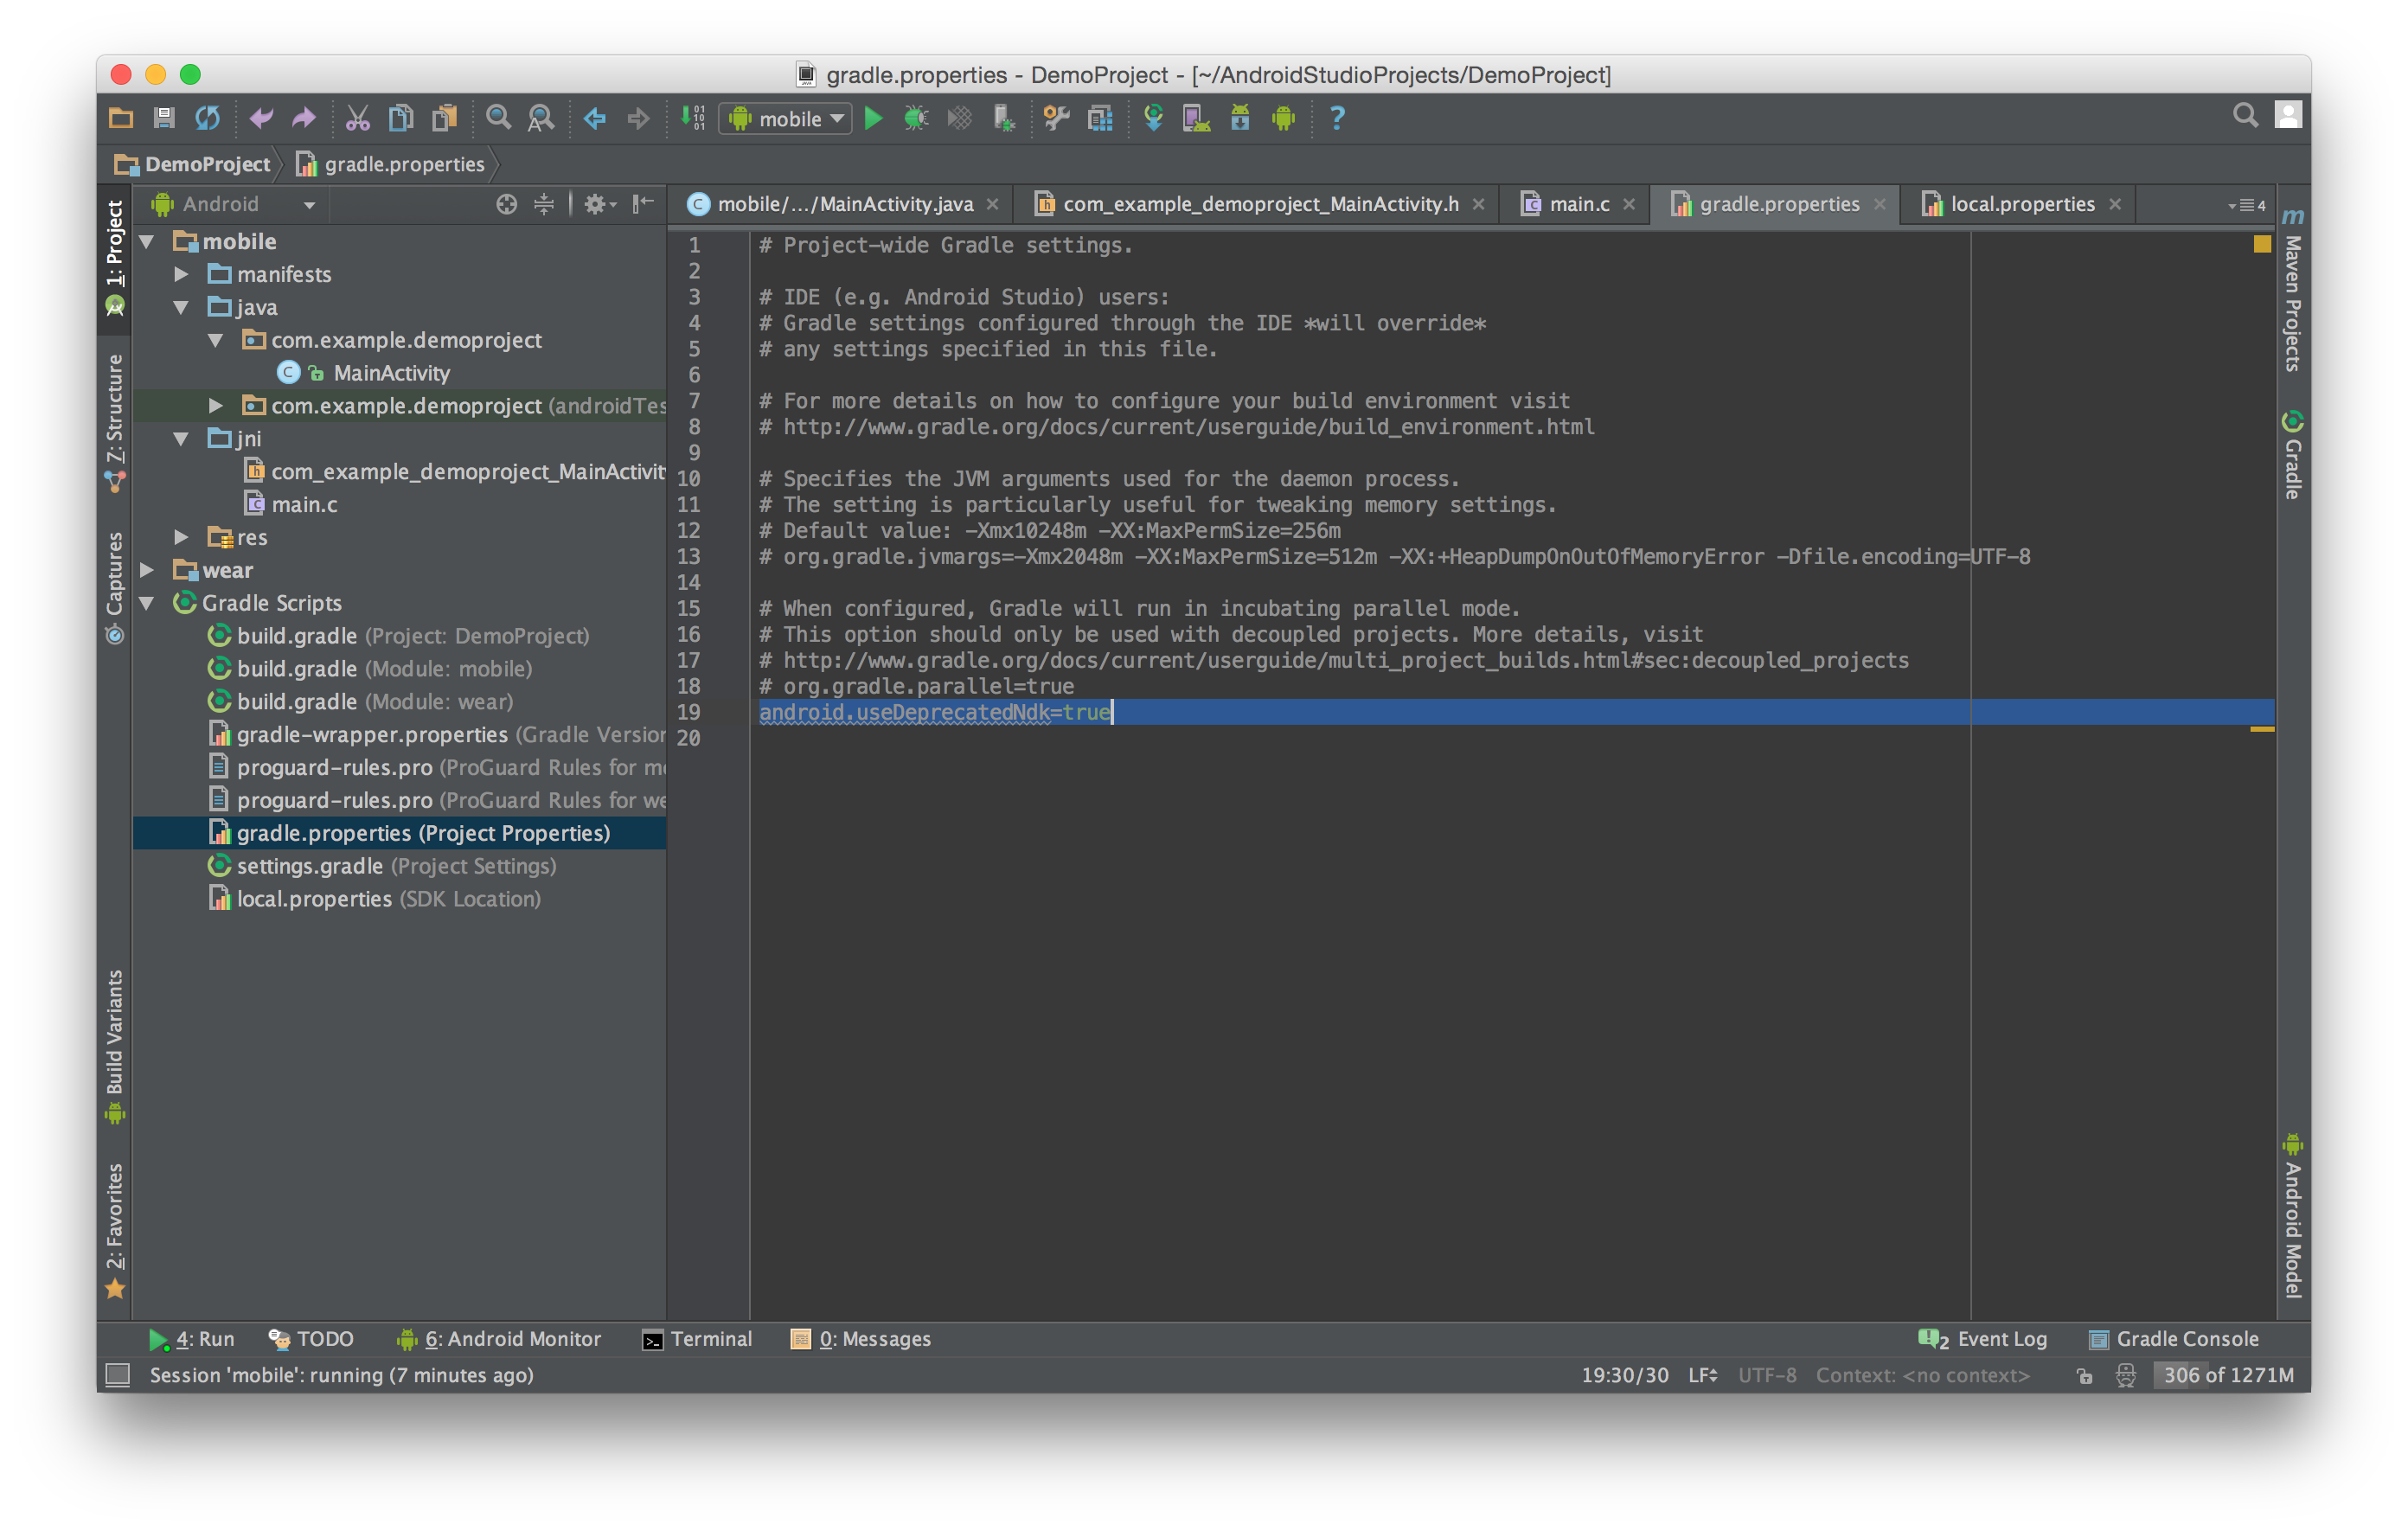
Inside the grade.properties file, add the following property
android.useDeprecatedNdk=true
Next you need to configure the path to your NDK distribution in your local.properties file. If you used the SDK manager, this will probably be inside of your SDK in the ndk-bundle folder.
ndk.dir=[path to sdk]/ndk-bundle

At this point you should be able to build the project by selecting Build > Make project from the toolbar, however you're not quite ready to run it just yet.
Add the native lib to your app
Now we need to tell Gradle how we want our NDK project to be built.
Inside the application build.gradle file, we need to add an ndk configuration inside our default config. The moduleName property tells gradle what to name the compiled native library so we can reference it later.
ndk {
    moduleName "_demoproject"
}

Finally, we need to load the the native lib into our java code, this is done by adding a static initialization block with System.loadLibrary and a reference to your native lib.
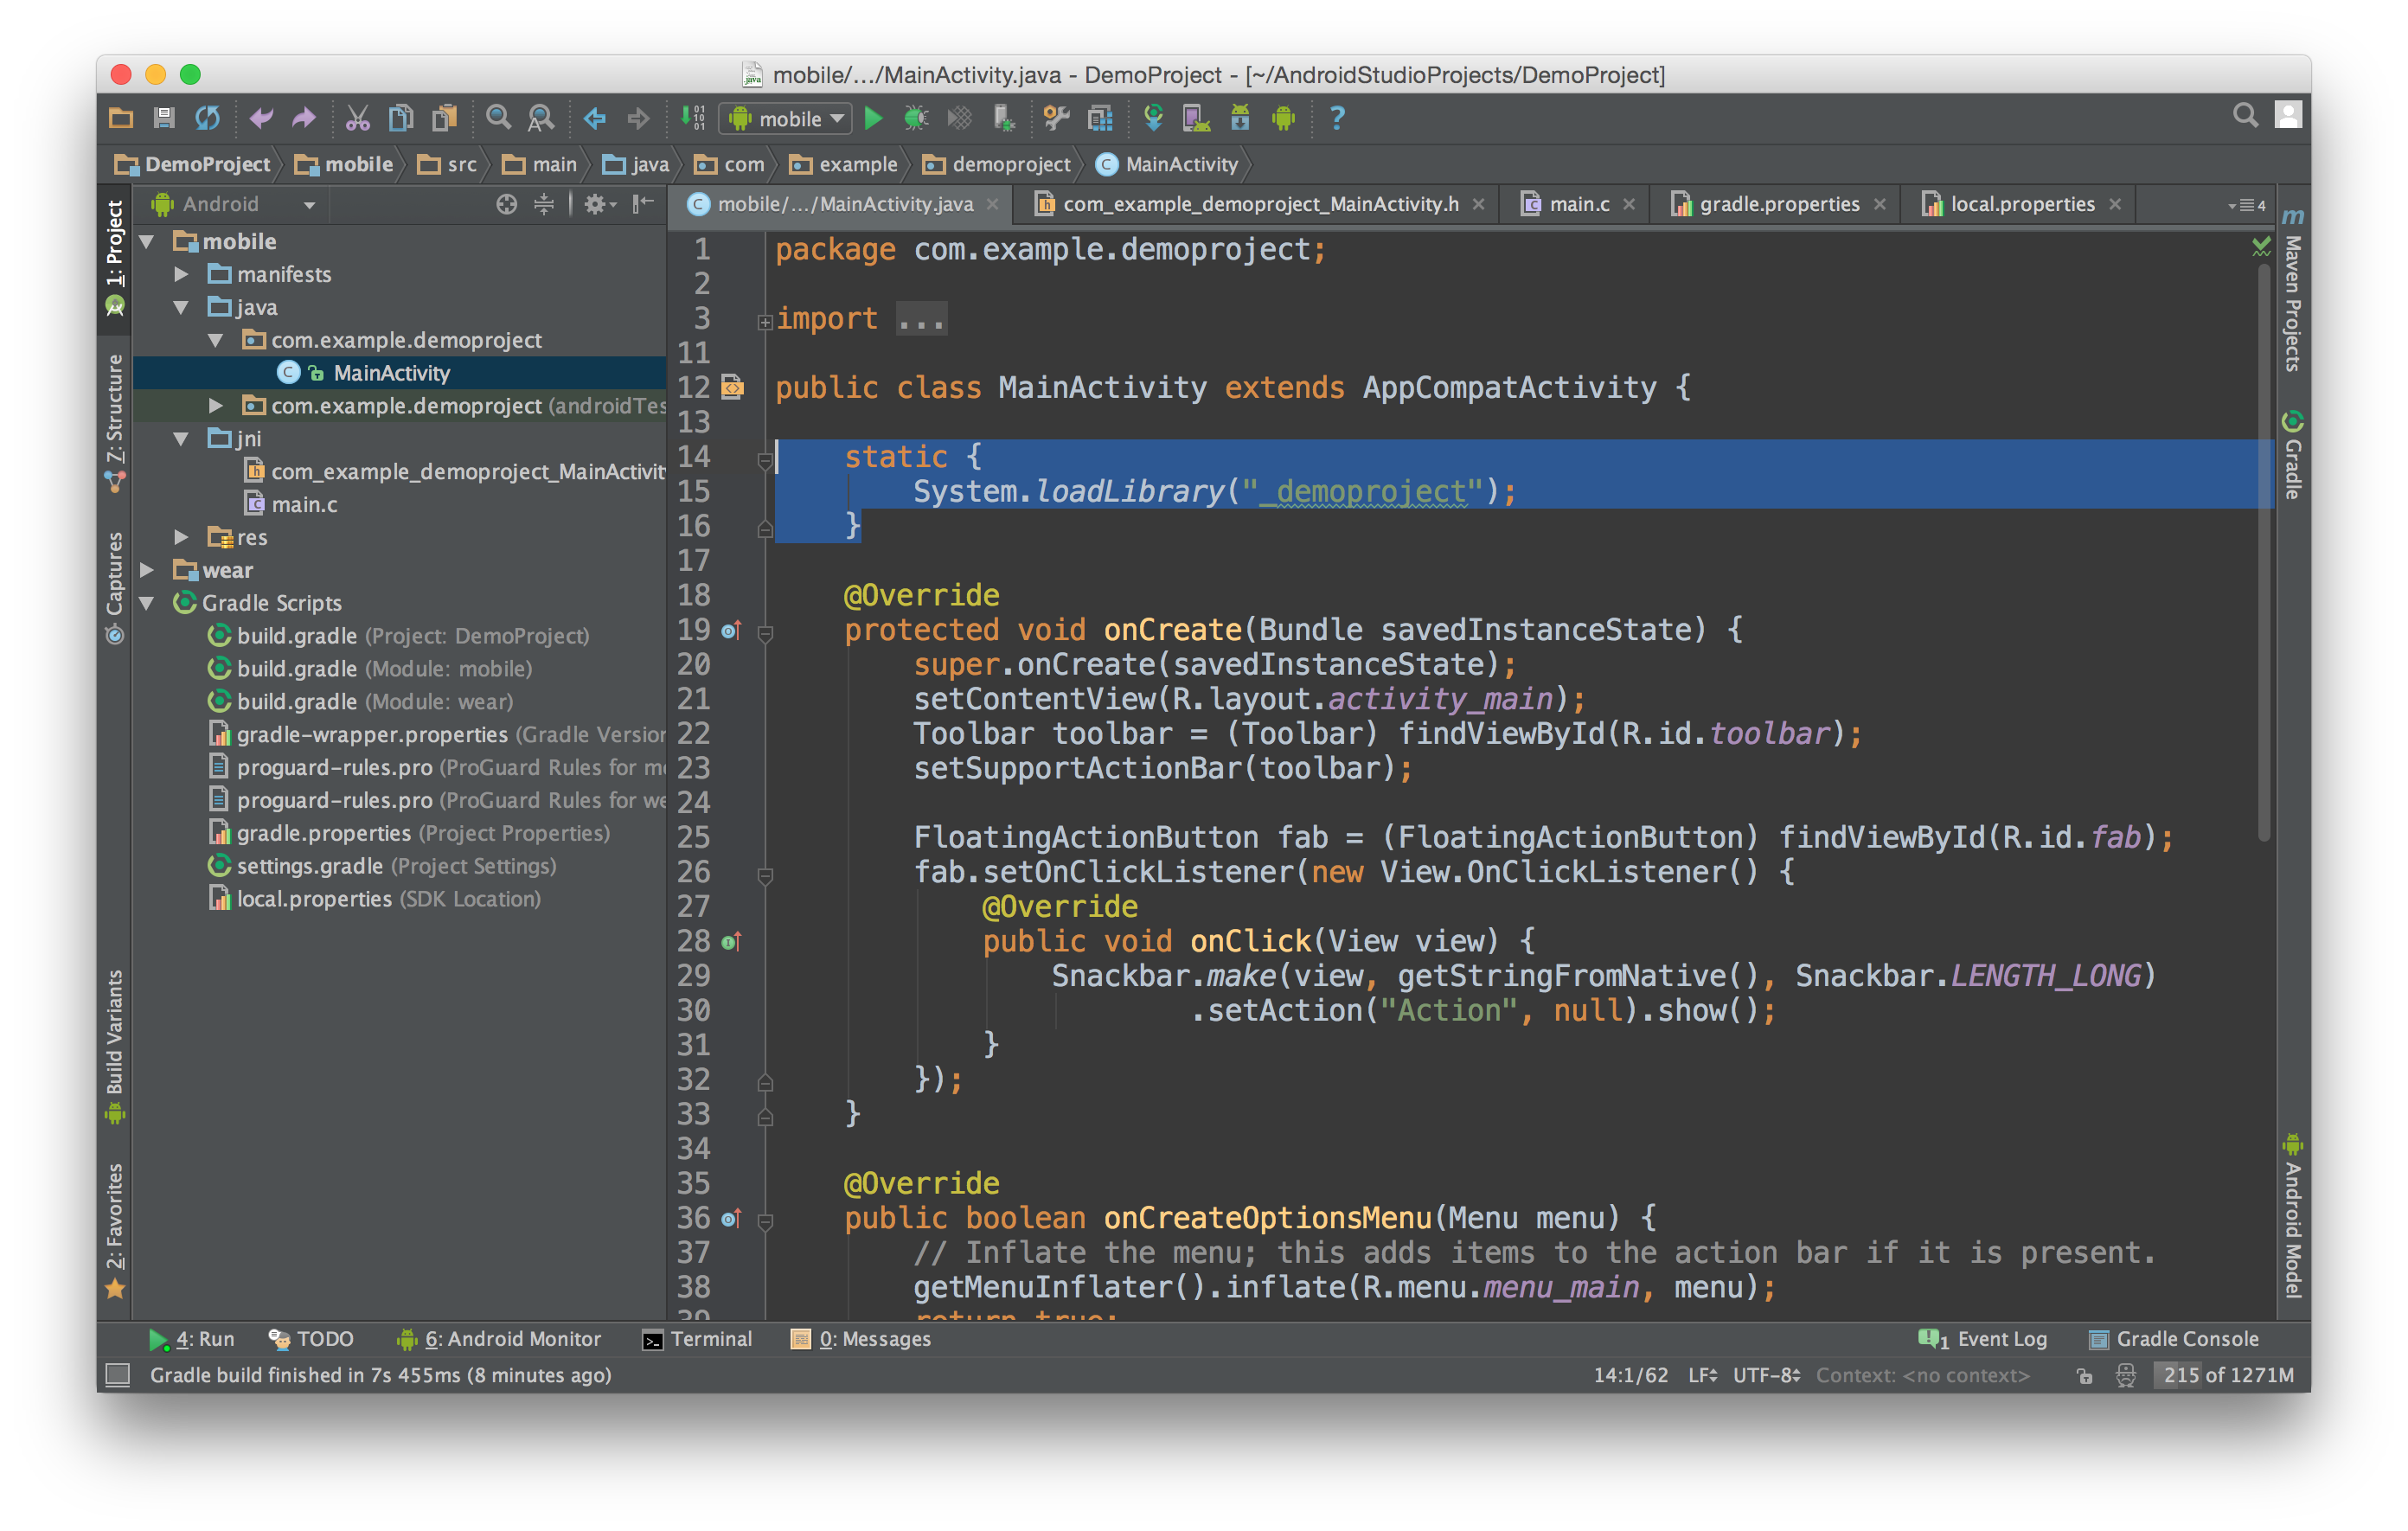
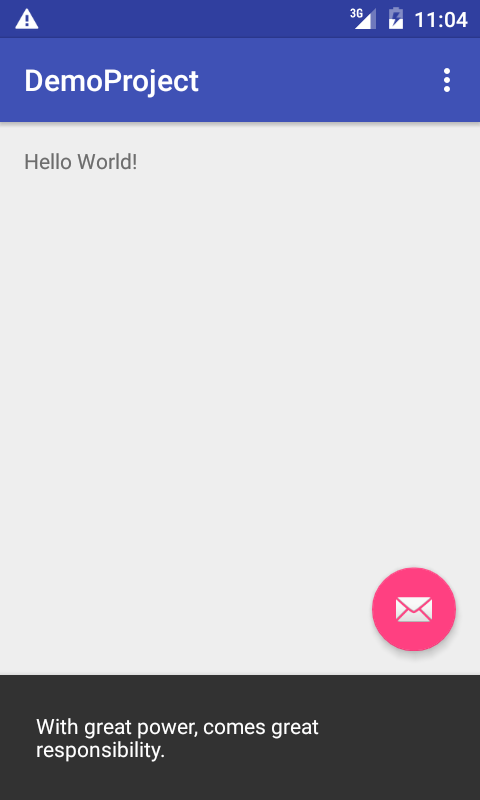
You can now invoke the native method in java code as though it were any other method in your program. For example, I'm calling my getStringFromNative() method in a Snackbar using the following code snippet.
Snackbar.make(view, getStringFromNative(), Snackbar.LENGTH_LONG)
                        .setAction("Action", null).show();
Running this code in the emulator gives me this as the result;